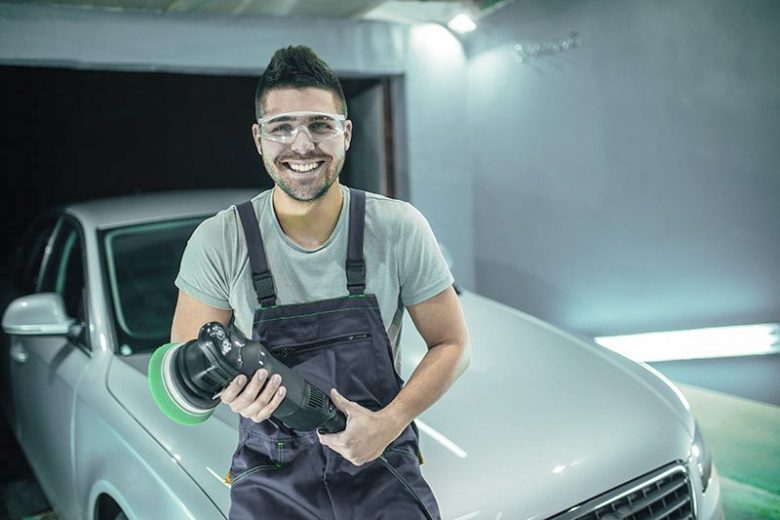
Waxing your car is one way to help protect its precious paint from the harmful rays of the sun as well as from other things that may get on the surface, whether by accident or on purpose.
Use eTags© to Quickly Complete Your DMV Service. Renewals, Title Transfers and More, All Online!
While it does not necessarily provide an armor-like shell, using a high-quality wax should make the removal of bird droppings, tree sap stains, dirt, debris, and other airborne particles that may have found their way onto the surface of your car a lot easier, helping you preserve the showroom-shine and high-quality luster.
Hence it is imperative that you know how to wax your car. And in the event that you don’t know how, here are 5 steps that are guaranteed to help you wax your car like a pro.
1. Assemble Your Materials
There are two very important things you have to prepare even before you start cleaning and prepping your car for waxing: the wax itself and an appropriate applicator.
First, the wax. It actually is a matter of personal preference with most folks going for the time-tested carnauba type of car waxes for optimum showroom shine.
However, there are also those individuals who would rather go for synthetics which should give them maximum durability.
Second is the wax applicator. While it is okay to apply wax using an ordinary microfiber cloth and your hands, the uneven surface of your fingers will create areas on the surface of your car that receive less wax.
Additionally, you may not be able to apply consistent pressure across the surface. As such it is a lot better to get a applicator pad.
In addition to the wax and the applicator, you may also need clean pieces of microfiber cloth or any other suitable cleaning fabric as specified by the manufacturer of the wax.
You will also have to prepare your cleaning materials as well as gloves for handling the wax.
2. Get Your Car Ready For Waxing
Cleaning and preparing your car for waxing is crucial as you don’t want to apply any substance on the finish of your vehicle when it is still dirty.
Washing your car thoroughly and claying the paint to make sure that all embedded debris are removed will lay the groundwork to ensuring that the car wax will be filling the microscopic holes in your car’s paint so that it bonds well to the surface.
This also helps ensure that the wax will stay on your vehicle for a much longer time.
SEE ALSO: Easy Maintenance Tips For First-Time Car Owners
3. Apply The Wax
Most folks think that the thicker the layer of wax that you apply on the car’s surface, the better are the results.
Unfortunately, this is not a situation where more is better. The trick is to apply a very even and thin layer of wax in a single pass.
You can go with a few passes if you think you have to until you get a good haze on your car which is basically an indication that the liquid component of the wax is beginning to evaporate.
In the application of the wax, most folks use a circular motion. Unfortunately, this can leave halo effects on the surface of the paint.
A much better option will be to apply the wax in a back-and-forth motion along an imaginary line or doing shorter strokes in the form of Zs or Ws.
Some prefer the linear while others prefer either the Z- or W-strokes. Some would even make a combination of linear, Zs, and Ws. Use whichever is more convenient for you.
4. Let The Wax Cure
Wax manufacturers will have a recommended ‘curing’ time for their products before you can begin buffing the wax off of your car.
However, if you’re doubtful you can always perform the ‘swipe test’. Wrap a clean microfiber cloth around your finger and swipe it across a section of the waxed car’s surface.
If you swiped clean, then it’s an indication that you can start buffing. If the swipe ended in an oily or hazy streak, then wait several minutes more before trying again.
SEE ALSO: Car Maintenance Tips: How to Make Your Vehicle Last Longer
5. Buff Your Car
Removing the wax off of your car can be tricky. Some car owners will employ the same technique as in the application of the wax.
For better results, however, you may want to fold your buffing towel four times and press it firmly against a section that you want to buff first.
Now with a right-left twisting motion of your wrist, slowly remove the wax from underneath the towel. If you lift the towel you should see a really nice-looking sheen, free from haze.
Continue doing this, working in sections, and moving your cleaning towel perpendicular to the general direction of the wax application.
Waxing your car is all about giving your top coat the protection it needs and using a high quality car wax is an important consideration to that end.
Observing these five steps in waxing your car not only ensures protection for your paint, it also gives character to your ride.


